White-labeling authentication
There are four places where Composio branding shows up during authentication:
| Where | What users see | How to fix |
|---|---|---|
| Connect Link page | Composio logo, name, and styling on the hosted auth page | Set your logo, app title, and theme in the dashboard |
| OAuth consent screen | "Composio wants to access your account" on Google, GitHub, etc. | Use your own OAuth app |
| Browser address bar | backend.composio.dev flashes during OAuth redirect-back | Proxy the redirect through your domain |
| Post-auth success page | Composio-branded success page after OAuth completes | Pass a callbackUrl when initiating the connection |
Start with the smallest setup
You do not need every option to launch a branded connection flow. Apply only the layers your users will see:
- Set your app title, logo, and theme for the hosted Connect Link.
- Add your own OAuth app only for toolkits where the provider consent screen must show your brand.
- Add a redirect proxy only when the browser must stay on your domain during the OAuth callback.
- Pass a
callbackUrlwhen users should return directly to your product after connecting.
Start with Connect Link branding, then test the complete flow for one representative OAuth toolkit. Add the other layers only if that test exposes Composio branding you need to remove.
Customizing the Connect Link
The Connect Link is the hosted page your users see when connecting their accounts. By default it shows Composio branding on a neutral light theme. You can swap in your logo and name, then restyle the whole page to match your product.
Everything here lives in Project Settings → White Labeling. Changes apply to every Connect Link flow across all toolkits, for both in-chat and manual authentication. Each project has one branding and one theme, so if you need a different look per product, use separate projects.
Logo and name
- Go to Project Settings → White Labeling, and open the Branding tab.
- Set your App Title and upload your Logo (a square JPEG or PNG, 256×256 to 1024×1024 pixels).
The logo replaces the Composio mark at the top of the page, and the app title replaces "Composio" in the "...wants to connect to your account" heading.
This only changes the Composio-hosted page. For OAuth toolkits like Gmail, Google Sheets, GitHub, and Slack, users still see a consent screen saying "Composio wants to access your account." To change that, and to remove the "Secured by Composio" badge, set up your own OAuth app as described below.
Colors, fonts, and per-element styling
Open the Styling tab to restyle the entire Connect Link page. A live preview sits beside the controls and updates as you edit, and you can preview each state of the flow with the Welcome, Form, Success, and Error tabs.
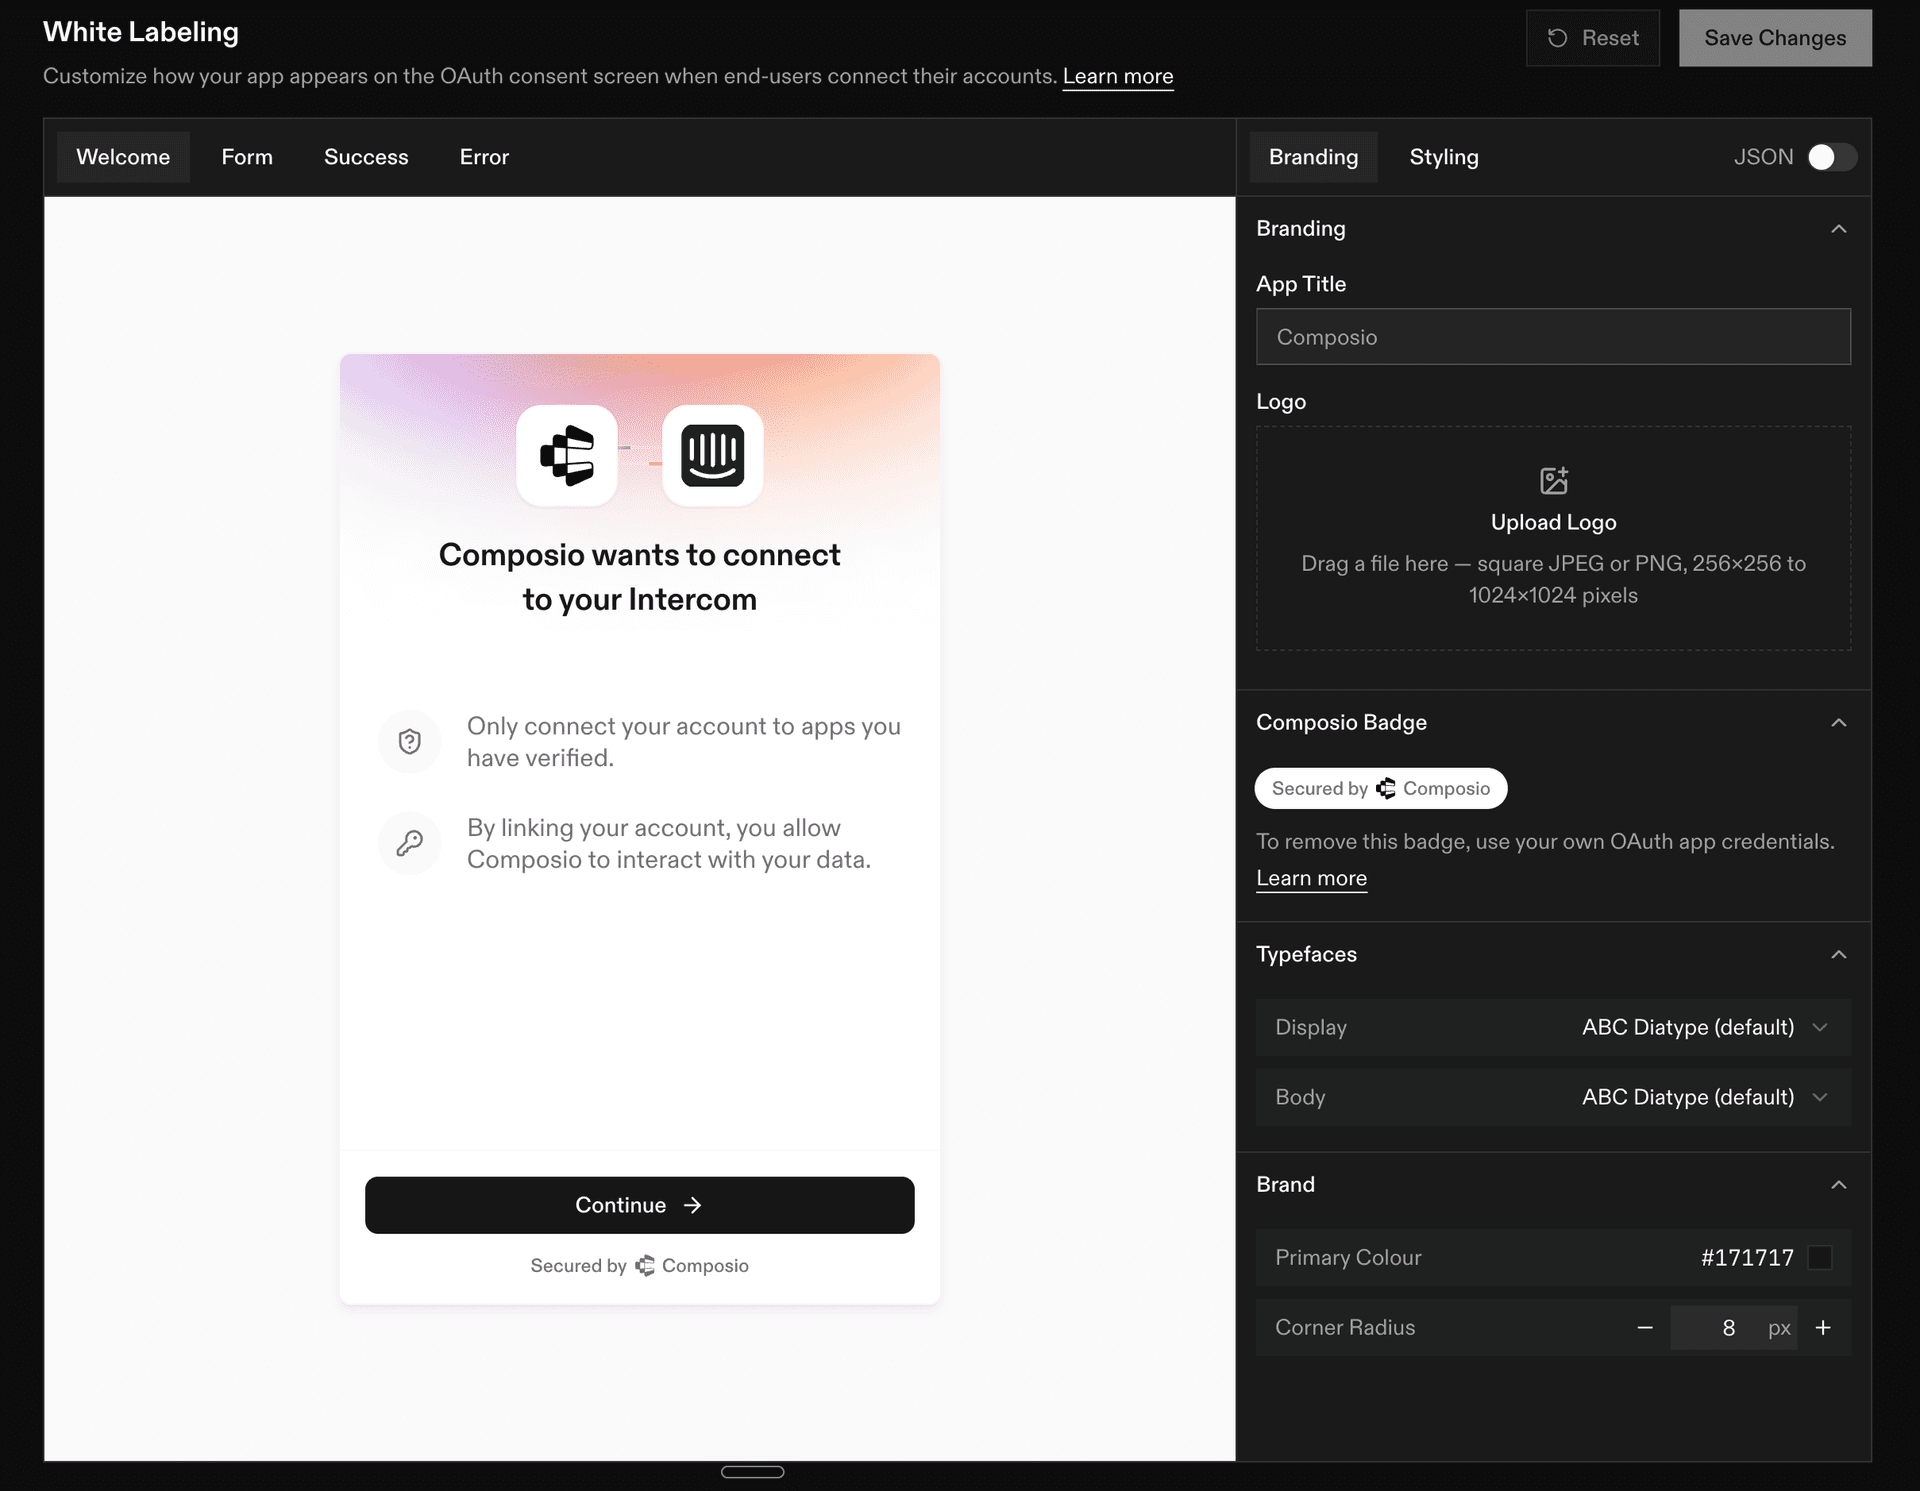
Set the page-wide defaults first:
- Seed colours for the page background, card, foreground text, and primary accent, plus secondary and tertiary accents for decorative touches.
- Typefaces: a display font for headings and a body font, each chosen from a curated set. The default is ABC Diatype.
- Geometry: corner radius and border width, which set the roundness and outline weight of cards, buttons, and inputs.
For finer control, select any element in the preview to style just that element. Editable elements cover the page and card surfaces, the heading, body, and field labels, the primary and secondary buttons, the input, the error notice, links, and the logo. Depending on the element you can set its colour, background, border, corner radius, shadow, and text size, weight, letter spacing, and case.
Contrast is enforced
Text has to stay legible against its background. The editor shows the contrast ratio for each text element and disables Save Changes until every element passes, so you can't ship an unreadable page by accident.
Prefer to work in code? Flip the JSON toggle to edit the theme as a single object you can paste, review, or generate. Your logo and app title stay in the Branding tab, since the logo has no JSON representation.
Troubleshooting
- "Secured by Composio" badge won't go away: this badge is removed when you use your own OAuth app. See Using your own OAuth apps.
- Logo doesn't appear after uploading: clear your browser cache or try incognito.
- Upload fails with "failed to fetch": retry or use a smaller image.
- You see the Branding tab but no Styling tab: theming is still rolling out. If it isn't enabled for your project yet, reach out. The logo and app title keep working in the meantime.
Using your own OAuth apps
OAuth toolkits like Google and GitHub show a consent screen that says which app is requesting access. By default this reads "Composio wants to connect to your account." To show your app name instead, create a custom auth config with your own OAuth credentials and pass that auth config when creating a session.
You don't need this for every toolkit
Only white-label toolkits where users see a consent screen (Google, GitHub, Slack, etc.). Toolkits that use API keys don't show consent screens, so there's nothing to white-label. You can mix and match freely.
Managed vs custom auth
Decide when to use custom credentials, create an auth config, and pass it to sessions.
Switching from Composio-managed to your own OAuth app
Existing connected accounts are tied to the auth config they were created with. Switching to a custom auth config affects new connections for that toolkit; existing users keep using their current connected accounts until they re-authenticate or you import/migrate their credentials.
- To use the custom config for new connections, pass
authConfigswhen creating or updating the session. - Existing connections continue refreshing with their original auth config.
- To fully migrate an existing user, delete the old connected account and have them re-authenticate with the new auth config, or import their credentials into the new config where supported.
Routing the callback through your domain
During OAuth, the browser briefly redirects through backend.composio.dev so Composio can capture the auth token. Some toolkits also display this URL on the consent screen.
If you need to hide Composio's domain, you can proxy the redirect through your own domain instead.
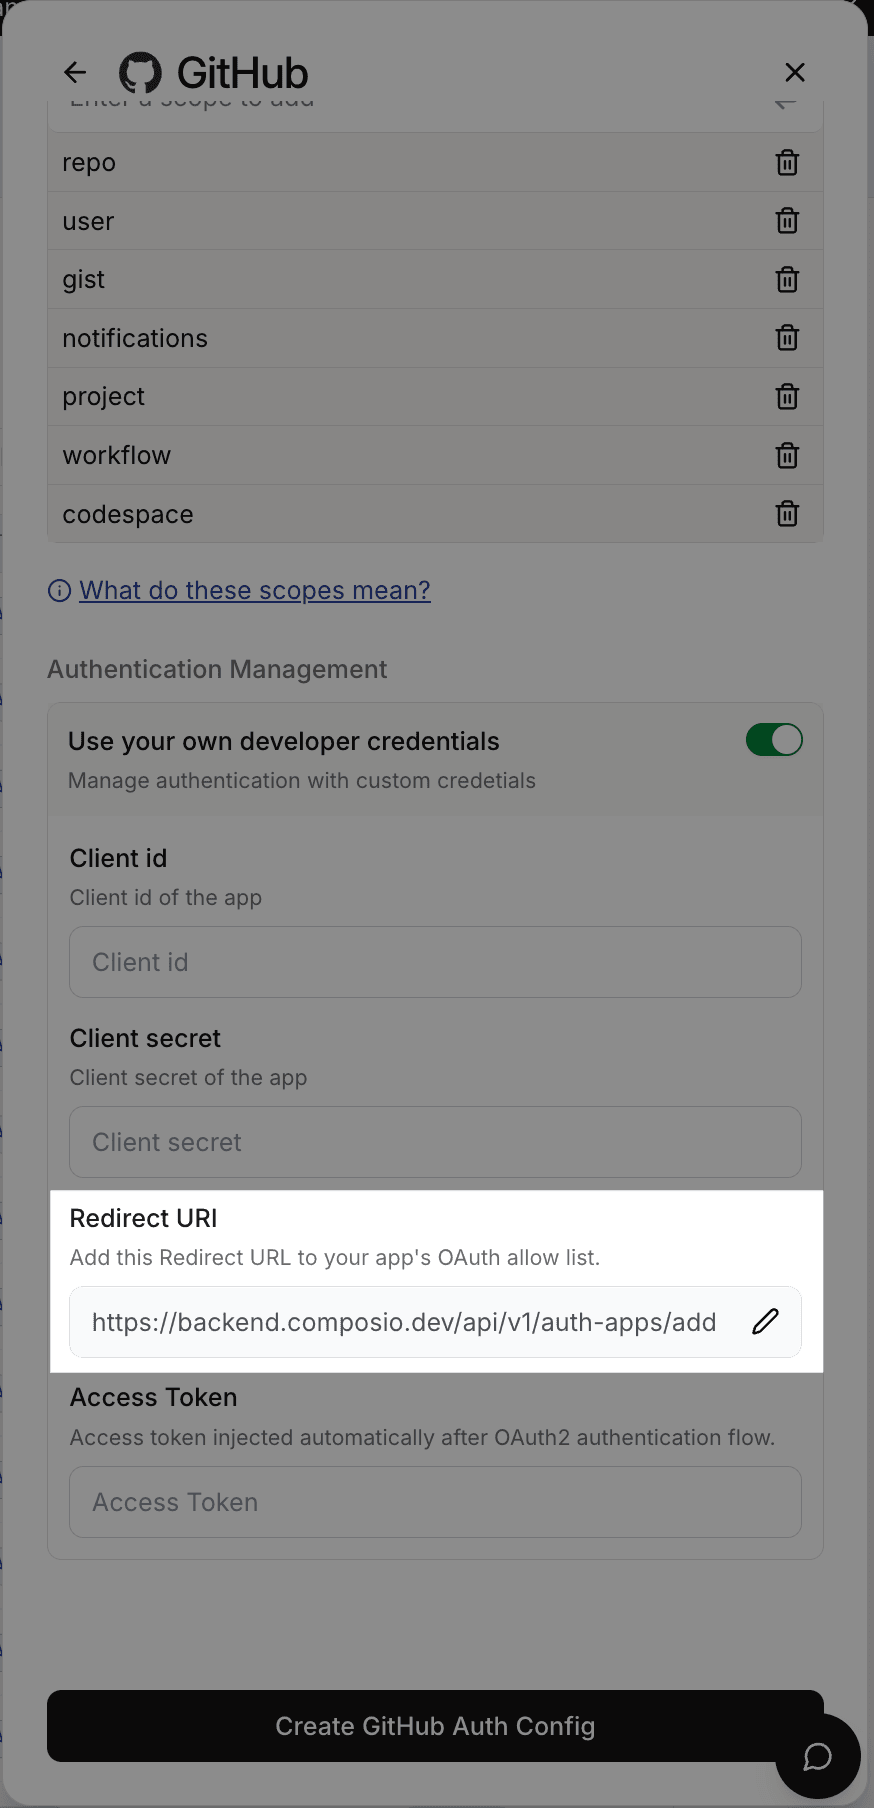
In your OAuth app's settings, set the authorized redirect URI to your own endpoint:
https://yourdomain.com/api/composio-redirectThis endpoint receives the OAuth callback and immediately 302-redirects it to Composio:
from fastapi import FastAPI, Request
from fastapi.responses import RedirectResponse

app = FastAPI()

@app.get("/api/composio-redirect")
def composio_redirect(request: Request):
    composio_url = "https://backend.composio.dev/api/v3/toolkits/auth/callback"
    return RedirectResponse(url=f"{composio_url}?{request.url.query}")
Your endpoint must return a 302 redirect. Do not follow the redirect server-side or make a fetch call to Composio. The user's browser needs to be redirected so the OAuth flow completes correctly.
In the Composio dashboard, update your auth config to use your custom redirect URI.
Here's how the redirect flow works. Your proxy just forwards the browser redirect to Composio. It never touches the authorization code or token.
Your appuser starts hereOAuth toolkitGoogle, GitHub, …yourdomain.comyour proxy endpointbackend.composio.devcaptures the tokenyour app. Your proxy never sees the tokenFor FAQs and setup guides for individual toolkits, browse the toolkits page.
Redirecting users after authentication
By default, after OAuth completes, users land on a Composio-hosted success page that shows Composio branding. To bypass this page and send users to your own domain instead, pass a callbackUrl when calling session.authorize():
connection_request = session.authorize(
    "gmail",
    callback_url="https://your-app.com/callback"
)
After authentication, Composio redirects the user to your callback URL instead of the default success page. For full details on the parameters appended to your callback URL, see Manually authenticating users → Redirecting users after authentication.
Frequently asked questions
Do I need a custom OAuth app for every toolkit?
No. Create one only for OAuth toolkits where users see a provider consent screen and your product needs its own branding, scopes, or quotas. API-key toolkits do not have an OAuth consent screen. You can mix managed and custom auth configs in the same project.
Does changing the Connect Link logo change the provider consent screen?
No. Connect Link branding changes the Composio-hosted connection page. Google, GitHub, Slack, and other OAuth providers get their consent-screen identity from the OAuth app. Use your own OAuth app to change it.
Can each customer have different branding?
Each Composio project has one app title, logo, and theme. If separate products or customers need independent branding, use separate projects and account for the additional provisioning and credential management.
What happens to existing connections when I switch auth configs?
They remain tied to the auth config used when they were created. New connections can use the custom config, while existing users continue with their current connected accounts until they re-authenticate or you migrate their credentials where supported.
How do I remove the Composio domain and success page?
Use a redirect proxy to keep the browser callback on your domain. Pass a callbackUrl to return users directly to your product after authentication. These solve separate parts of the redirect flow.
Why does the "Secured by Composio" badge still appear?
Connect Link styling alone does not remove it. Configure your own OAuth app for that toolkit so the provider consent flow uses your credentials and identity.